Adding your assets to Weever is simple with Asset Management. After you add your assets, you can collect this data in your form submissions with the "Asset" field or schedule inspections for your machines/equipment assets.
To add your assets follow these simple steps:
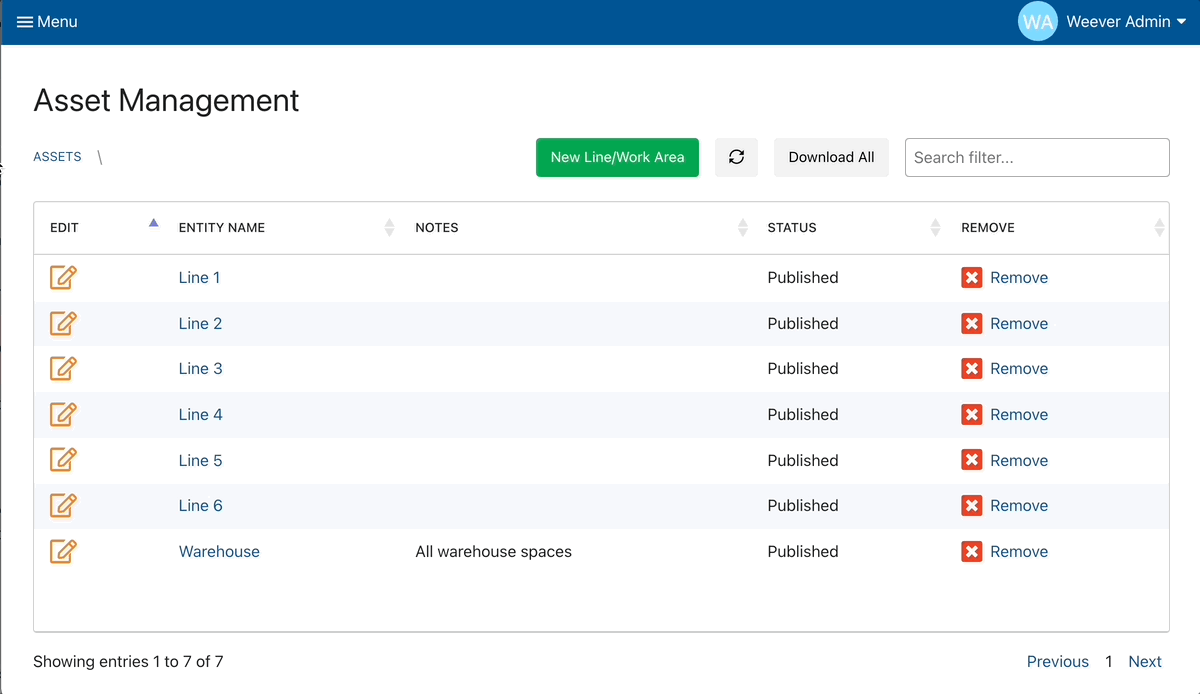
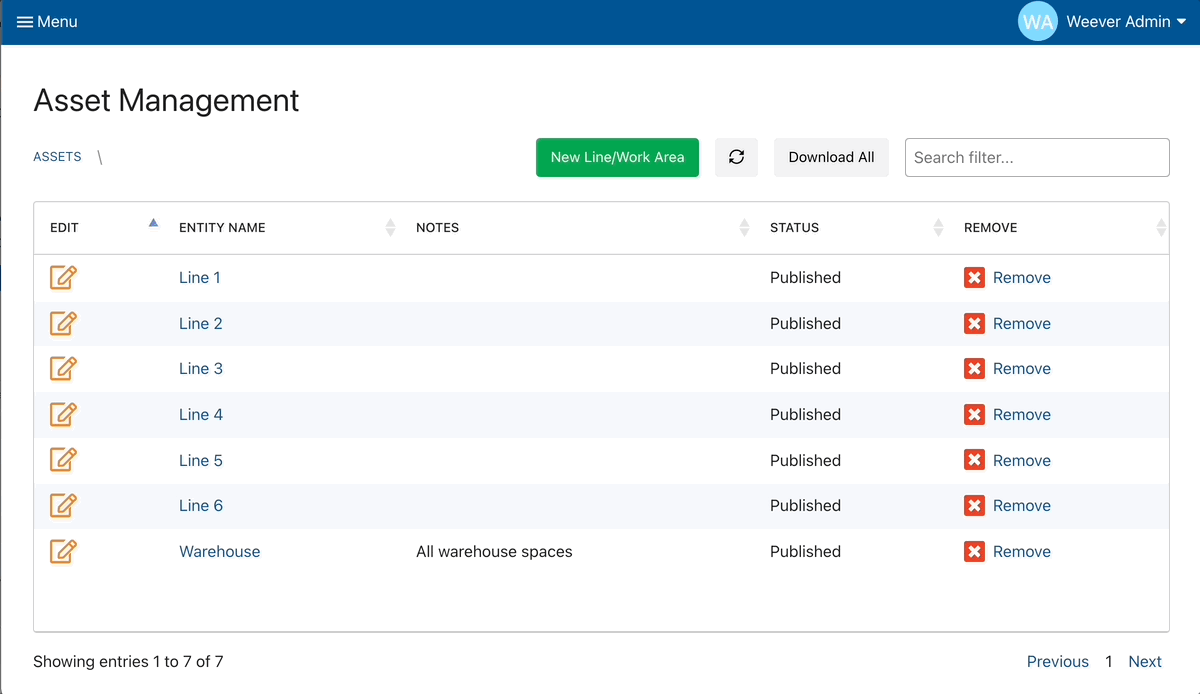
Step 1 - Navigate to Asset Management
From your Weever menu tap Asset Management. This will load the top level of your asset hierarchy. If you tap into one of the assets, it will show you the nested assets.
NOTE - The names of the levels in your Asset Management, as well as the number of levels included may be different. This is because Weever allows our clients to customize the labels and number of levels to suit their site's specific needs. The functionality outlined in this article, however, will be the same.
Step 2 - Add your assets and nested assets
Tap the green button  to add a new asset. Add the name of your asset then tap "Create".
If you tap into an asset, you can add a nested asset by tapping the green "New Asset Name" button, adding the new asset name, and tapping "Create".
Step 3 - Edit or delete assets (if required)
You can edit any asset on any level by tapping the "Edit" button ![]() beside that asset
beside that asset
You can delete any asset on any level by tapping the "Remove" button  beside that asset
CAUTION
Removing an asset will also remove all the nested assets in all levels below that asset.
And that's it!
Now you can schedule inspections for your machine level assets in Inspection Builder
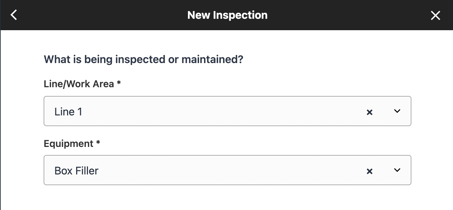
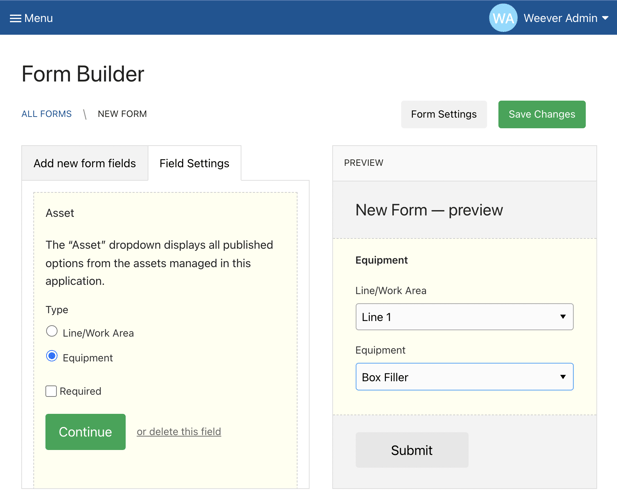
You can also add the "Asset" field to your forms, and it will pull from the assets you just added in Asset Management.