Assigning in Weever helps teams stay organized and accountable by setting clear expectations, and sending timely notifications. This is done by either assigning the whole workflow, or assigning action items within the form.
How do I assign work in Weever?
How do I set up my forms to be assigned in Weever
How do I assign in Weever?
There are two options available to assign work in Weever. These options are:
1. Docked in the side panel in the form
 ** This field will be at the bottom of the form on smaller screens.
2. In a field within your form

Regardless of what option you update, the assignee will receive an email letting them know they have assigned work in Weever.
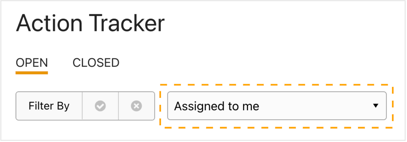
The Assignees will show on the Action Tracker page

How do I set up my forms to be assigned?
In order to use the assign feature, the first thing to do is enabled the workflow feature for your form. This can be configured in the Form Settings section of Form Builder.

Docked Assignee Field
Enabling the workflow feature will automatically enable the docked Assignee field. You can configure this docked field in Form Settings as well.
Action Item (Assignee) Field
The assign functionality is part of the "Action Item" field in Form Builder. You can add multiple of these fields to your form if you want to track multiple actions. To add and configure this field follow these simple steps:
STEP 1
Open the form you would like to add this field to in Form Builder. Tap the "Action Item" field to add it to your form. 
STEP 2
Configure the field in Field Settings. From here, you can update the label, enable the Status feature to track completion, set the field as required, and set up any required conditional logic.

And that's it!