Multiple forms – one project. Digitize filing cabinets, folders and clipboards with Weever Projects.
Weever Projects allows you to group multiple forms into one project. This makes long, multiple step processes simple to assign each step to the appropriate individual and track completion. You can also add multiple action items to ensure each action has an owner and is completed.
In cases where one form doesn’t do the job, use Projects to guide your staff through a sequence of multiple forms. Perfect for Problem Solving, Root Cause Analysis and Corrective & Preventive Action Projects.
- This article covers:
Create a new project
You can find your Projects by tapping Menu and selecting your project name.
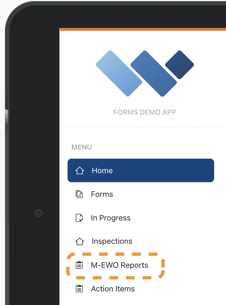
Please note that this feature has many different labels (ie. M-EWO, Problem Solving, Incident Report, etc) but the functionality will be the same.
In this article we will use a M-EWO Reports project as an example.
To create a new project, tap  or
or ![]() and fill out the first form. Bear in mind that these forms are entirely configurable – find out how to edit them in the paragraph below.
and fill out the first form. Bear in mind that these forms are entirely configurable – find out how to edit them in the paragraph below.
Submitting the first form generates a new project instance, and all the forms in that project create a single report.
Click on the form and fill it out.

An overview of your projects
When you fill out a form and tick Completed at the bottom, your Project panel will automatically populate the Status column.
And if you go back to the All Projects page, you can see the number of completed forms, or Action Items, within each project.
Sharing a PDF report of the project
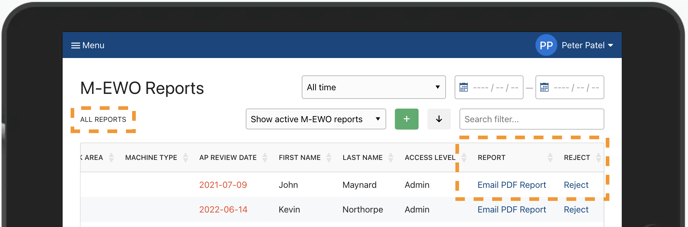
If you want to email yourself a copy of this project, go to your main projects page, All Reports (as highlighted below). Scroll all the way to the right, tap Email PDF Report, and enter your email address. You can send a copy to someone else as well, and you can add as many recipients as you like.
This PDF will show data from all the forms within the project.
Rejecting a project
If you want to reject a project, simply tap Reject. This won’t delete a project – it will update the status column as Rejected, making it clear that there’s no need to work on this project anymore.
Action items
if you want to create a new Action item, tap on  or
or ![]() . This is entirely configurable as well.
. This is entirely configurable as well.
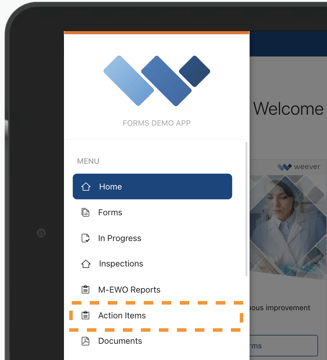
If you want to see all the Action Items in a flat list view, go back to the Menu and tap Action Items.
Assigning a form in a project
You can fill out all the forms within a project yourself, or you can assign them to someone else.
Note that assigning a form within a project will only assign that specific form, not the entire Project. You can have different assignees for different forms within a Project.

Editing forms within a project
If you want to edit a form within your bundle, go to Menu > Form Builder > Projects folder and tap the edit button next to the form you’d like to edit.
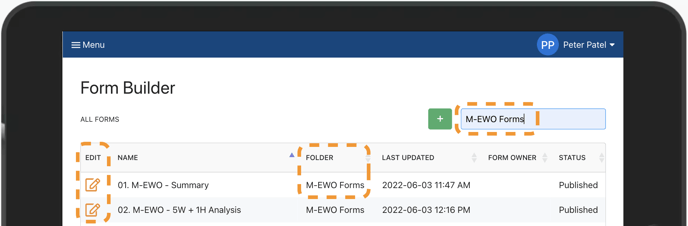
If you want to choose the order that the forms are listed in your project, just add numbers to the beginning of your project forms titles. The page will sort the forms from the lowest to highest number.
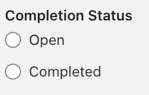 You should keep the Completion Status field at the bottom of the form. If you delete it, you won’t be able to see the Status in the bundle or the Action Plan in the flat list view of all your projects.
You can change the order in which the forms appear in the bundle by changing the numbers in the title. The system automatically sorts the bundle alphabetically.
Please note that the only thing you cannot edit in the front end is your Action Item form, as this is hard-coded. You can change the order in which it appears, you can put it at the top or at the bottom, you can add as many as you’d like, but creating a New Action Item will always generate this specific form.